This chapter describes the ESP logbook, how to view it, and how to add entries to it.
Use the ESP logbook to record changes that you make to a system: Create a logbook entry each time that you perform a service-related activity on a system. Then, if necessary, any ESP user with the “view logbook” permission can view the entries to review the activities at a later time.
You can view any logbook entries to review previous system activities.
Perform the following procedure to use the Web-based interface to view logbook entries:
Click on the Logbook button.
Click on the View Log button.
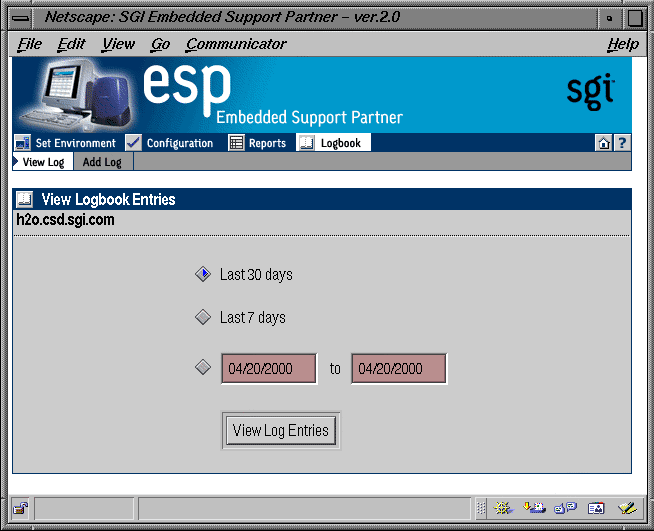
The interface displays the View Logbook Entries window. (Refer to Figure 6-1.)
Specify the range of dates to view.
Click on the View Log Entries button.
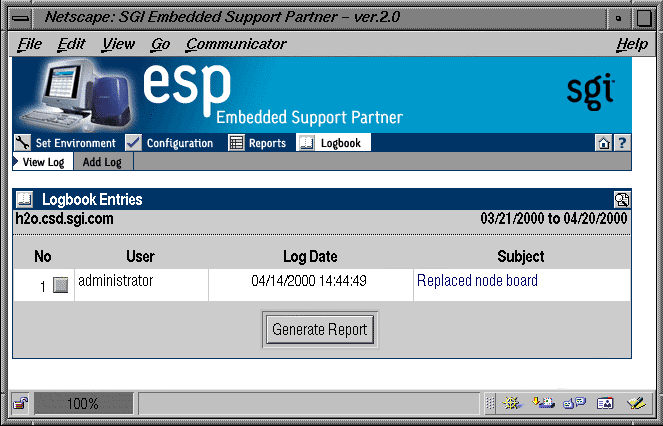
The interface displays the specified logbook entries. (Refer to Figure 6-2.)
Perform one the following actions to view a log entry:
Set the check mark next to entry number, and click on the Generate Report button.
Click on the subject link for the entry.
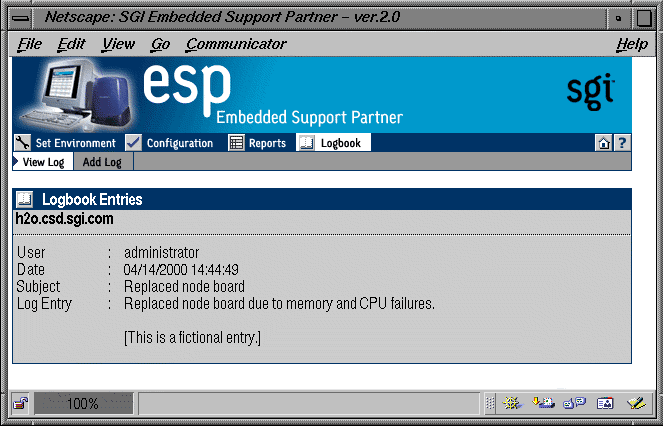
The interface displays the logbook entry information. (Refer to Figure 6-3.)
Use the following syntax of the espreport command to view logbook entries:
/usr/sbin/espreport logbook [-from <mm/dd/yyyy>] [-to <mm/dd/yyyy>] |
Use the -from and -to options to specify a range of dates. If you do not use these options, the report includes all available data.
You should add logbook entries any time that you modify a system.
Perform the following procedure to use the Web-based interface to add a logbook entry:
Click on the Logbook button.
Click on the Add Log button.
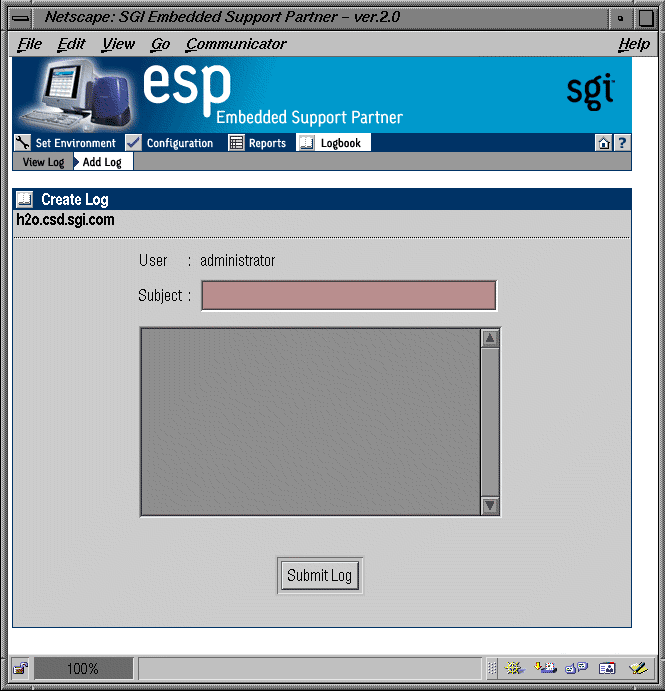
The interface displays the Create Log window. (Refer to Figure 6-4.)

Note: ESP automatically sets the user field to the user account that you are using. Enter a subject for the entry. (This required field can hold up to 128 characters.)
Enter a log entry. (This required field can hold up to 4 Kbytes of data.)
Click on the Submit Log button.
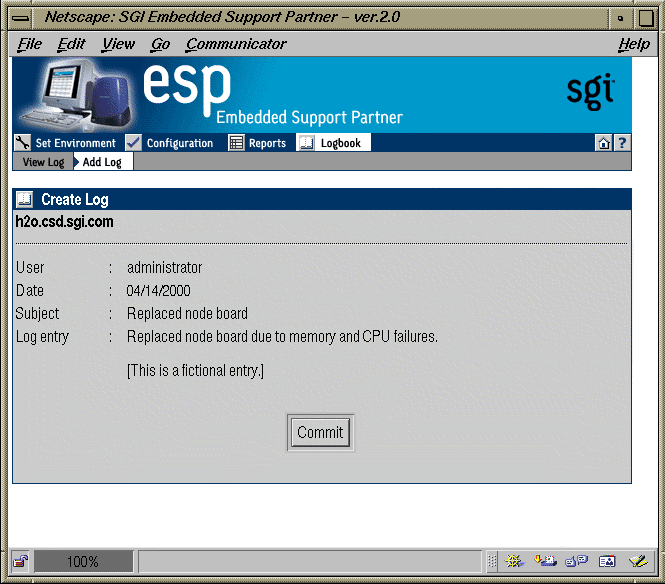
The interface displays the information that you entered. (Refer to Figure 6-5.)
Click on the Commit button to create the entry.
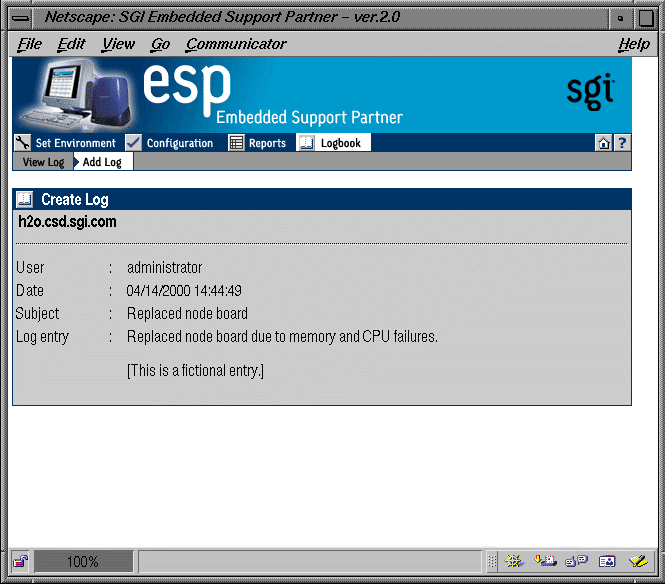
The interface displays the information that was added to the logbook. (Refer to Figure 6-6.)
